


If you’re a YouTuber, you know how important it is to make your videos stand out. One of the best ways to do that is by creating custom thumbnails for your videos. Custom thumbnails help your videos get noticed and improve your click-through rate (CTR), which is crucial to growing your channel. In this article, we’ll show you how to create custom thumbnails that will help you get more views and subscribers on YouTube.
What Are Custom Thumbnails?
A thumbnail is a small image next to your video title in YouTube search results, suggested videos, and on your channel page. Custom thumbnails are images that you create yourself to represent your video content. They are not generated automatically by YouTube like the default thumbnails.
Custom thumbnails allow you to showcase your creativity and grab viewers‘ attention. They can help your videos stand out in a crowded YouTube space, increase the chances of getting clicked on, and improve your CTR.
Why Are Custom Thumbnails Important for Your YouTube Channel?
Custom thumbnails are one of the most powerful tools you have for attracting viewers to your videos. Here are some reasons why they are essential for your YouTube channel:
- More views: Custom thumbnails can increase your video views by up to 154%. According to YouTube, 90% of the best-performing videos have custom thumbnails.
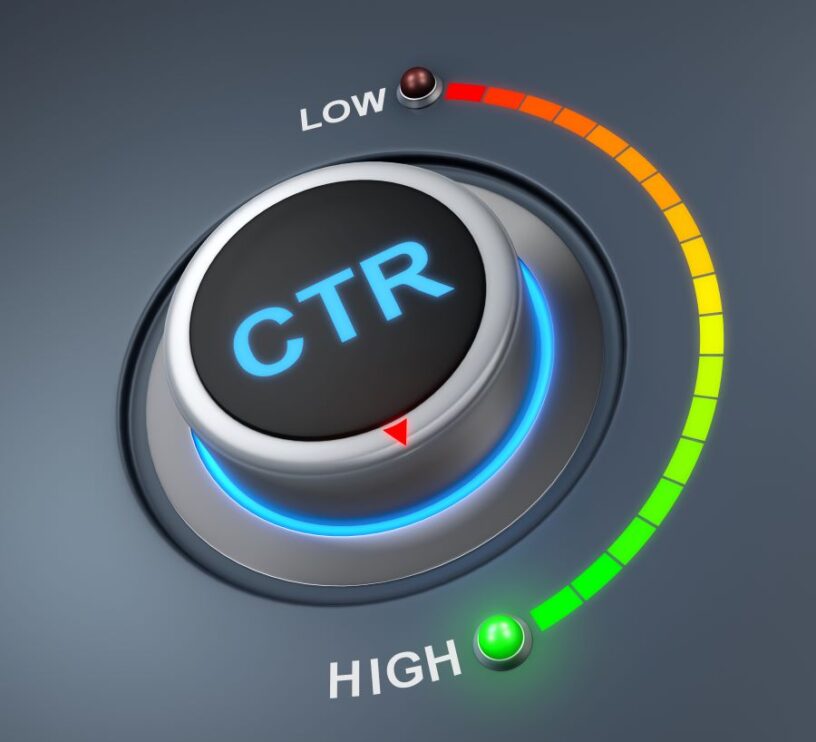
- Higher CTR: Custom thumbnails can improve your CTR by up to 167%. A good CTR tells YouTube that your video is worth promoting, which can help it reach more viewers.
- Better branding: Custom thumbnails can help you establish a consistent brand identity for your channel. Viewers can recognise and associate your content with your brand by using similar colours, fonts, and designs in your thumbnails.
- More subscribers: Custom thumbnails can help you attract new subscribers to your channel. When viewers see a thumbnail that catches their eye, they’re more likely to watch the video and consider subscribing to your channel for more content.
How to Create Custom Thumbnails for Your YouTube Videos
Creating custom thumbnails for your YouTube videos is easier than you think. Here’s a step-by-step guide to creating custom thumbnails:
Step 1: Choose the Right Image
The first step to creating a custom thumbnail is choosing the right image. You want to select an image that represents your video content and is eye-catching. Here are some tips for choosing the right image:
- Use a high-quality image: Make sure your image is focused. Blurry or pixelated images won’t catch viewers’ attention.
- Choose a relevant image: Your image should represent the topic of your video. If you’re making a video about cooking, use an image of food or a kitchen.
- Add text or graphics: Consider adding text or graphics to your image to make it more eye-catching. Use bold, easy-to-read fonts and bright colours to make your text stand out.
Step 2: Resize and Crop the Image
Once you’ve chosen your image, you must resize and crop it to fit YouTube’s thumbnail dimensions. YouTube recommends using a resolution of 1280 x 720 pixels, with a minimum width of 640 pixels. Here’s how to resize and crop your image:
- Use a photo editing tool: You can use a photo editing tool like Adobe Photoshop or Canva to resize and crop your image.
- Use YouTube’s built-in editor: You can also use YouTube’s built-in editor to resize and crop your image. Select the “Custom thumbnail” option when uploading your video, follow the prompts to upload your image, and adjust the cropping.
Step 3: Add Text and Graphics
Now that you have chosen your perfect thumbnail image, it’s time to add some text and graphics. This is where you can make your thumbnail stand out and entice viewers to click on your video.
Text
When adding text to your thumbnail, keep it short and sweet. You want your text to be easy to read and understand at a glance. Use a clear and bold font, and make sure your text stands out against the background of your thumbnail.
Your text should also be relevant to the content of your video. Avoid clickbait titles that don’t accurately reflect the video’s content. This can make viewers feel deceived and hurt your channel’s credibility in the long run.
Graphics
In addition to text, you can add graphics to your thumbnail to make it more eye-catching. Consider adding icons or other graphics that help to communicate what your video is about visually.
Keep in mind that your graphics should be relevant to your video’s content and not just added to be visually appealing. You want your thumbnail to accurately represent your video and give viewers a sense of what they can expect to see.
Branding
Remember to incorporate your branding into your thumbnail. Consider adding your channel’s logo or using your channel’s colour scheme in your thumbnail to help build brand recognition.
Testing
Once you have created your custom thumbnail, it’s essential to test it out to see how it performs. Keep track of your click-through rate (CTR) and monitor your video’s audience retention to see if your thumbnail is effectively attracting and retaining viewers.
By following these tips and creating a custom thumbnail that accurately represents your video’s content, you can increase your CTR and attract more viewers to your channel.
Conclusion
Custom thumbnails are essential for any YouTuber looking to attract more viewers and grow their channel. Follow the simple steps outlined in this article. You can then create eye-catching thumbnails that accurately represent your video’s content and entice viewers to click. With higher views, a better CTR, and increased brand recognition, custom thumbnails can significantly impact your YouTube channel’s success. So don’t underestimate the power of a great thumbnail, and start creating your custom thumbnails today!